
Palm Beach Gardens is known for its elegant homes, palm-lined streets, and residents who take pride in every inch of their property—including the garage. This month, we’re featuring a full garage remodel project we completed for a homeowner who wanted a space that matched the sophistication of their home while serving as a highly functional area for storage, work, and relaxation.
From drab concrete floors to custom cabinetry, state-of-the-art lighting, and epoxy coating built to withstand Florida’s climate, this transformation is one to remember.
The Homeowner’s Goals
Our client, a retired couple in Palm Beach Gardens, came to us with three specific goals for their garage:
-
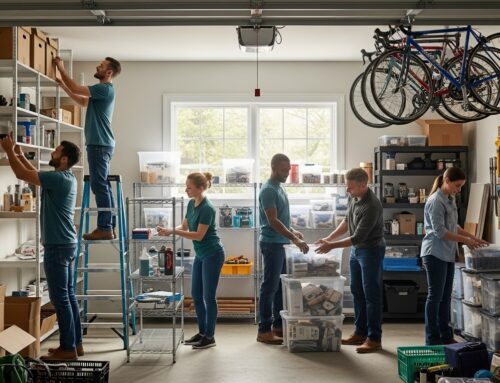
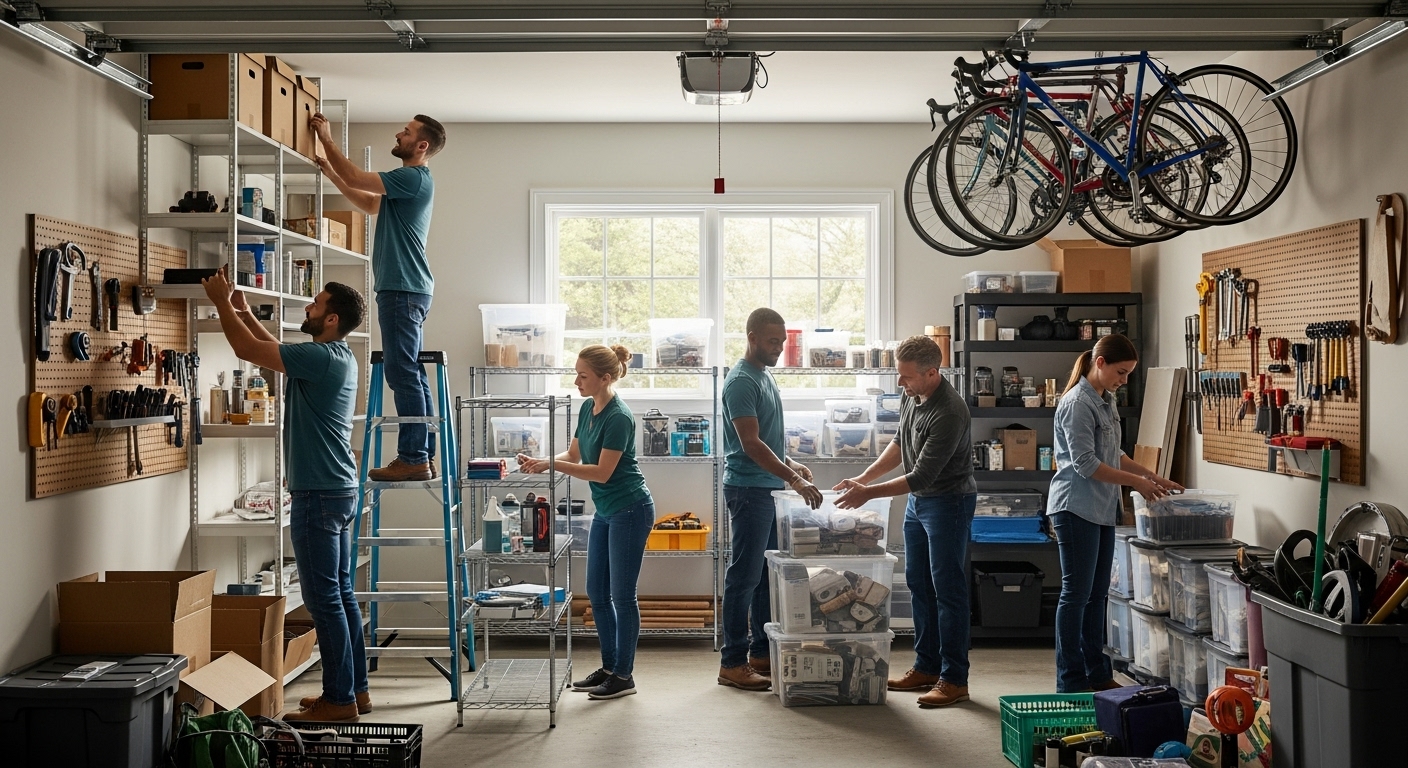
Declutter and organize – They wanted to eliminate floor clutter and make room for their bikes, tools, and gardening equipment.
-
Upgrade flooring – Their bare concrete slab was stained and cracking. They wanted a durable, attractive surface that could stand up to Florida’s humidity.
-
Create a clean, finished look – The garage needed to feel like a true extension of their home—bright, well-lit, and stylish.
Step 1: Design Consultation
Every full remodel at The Garage Enhancement Company starts with a free consultation. During our site visit, we measured the space (a 2-car garage approximately 500 sq. ft.), discussed the couple’s needs and preferences, and created a 3D rendering to visualize the transformation.
We settled on a clean, contemporary style featuring:
-
Polyaspartic epoxy flake flooring
-
Custom garage cabinets with slatwall
-
LED overhead lighting
-
Built-in workstation for hobbies
-
Bike storage rack
-
Overhead storage for seasonal items
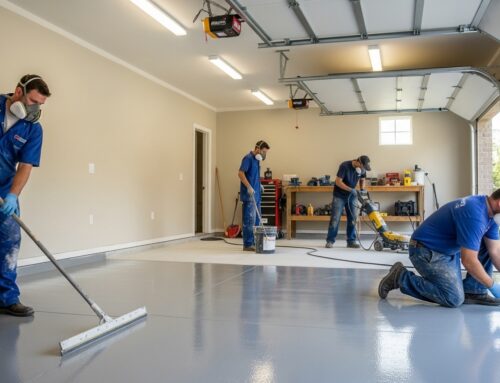
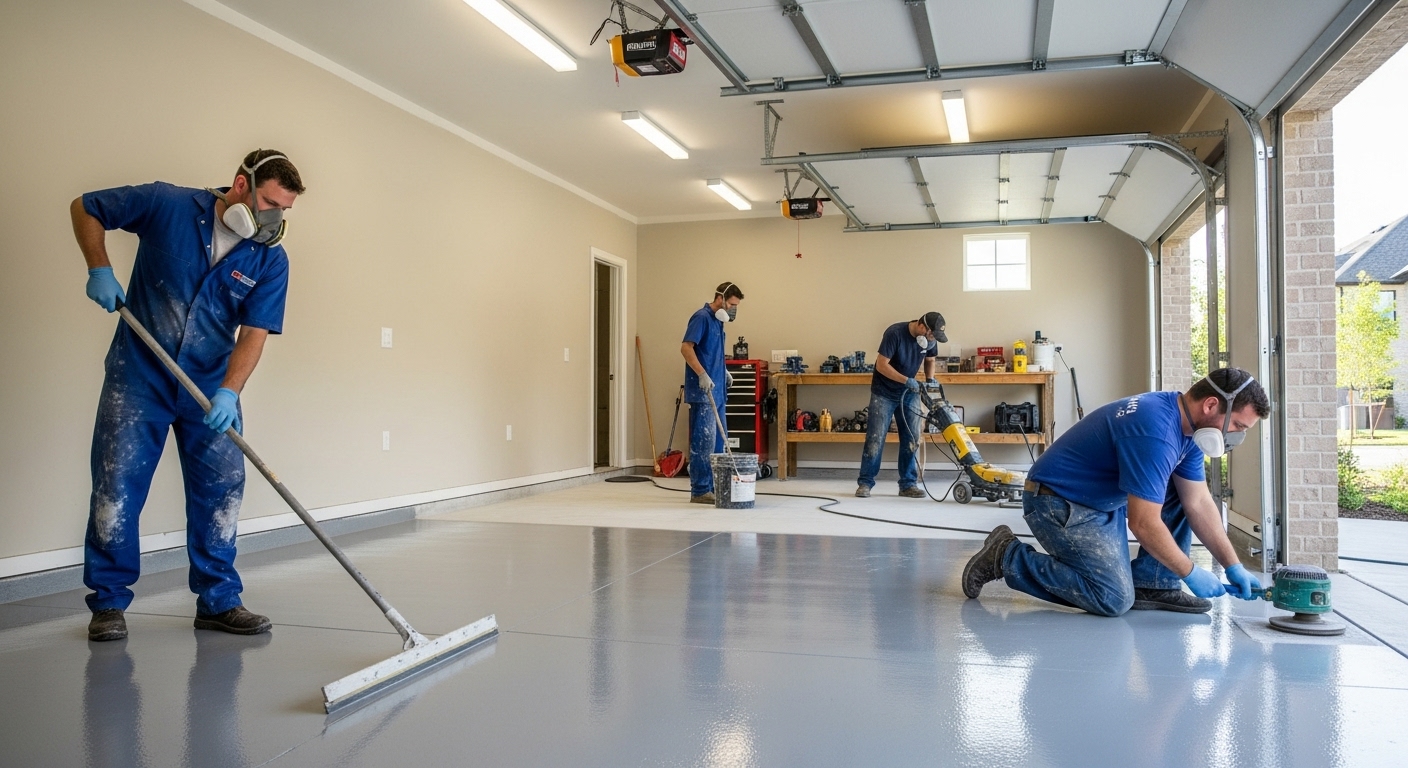
Step 2: Floor Preparation and Epoxy Application
The existing garage floor had visible stains, cracks, and uneven patches. Surface prep is one of the most critical stages of any epoxy flooring job, so we went to work with the following process:
Concrete Preparation:
-
Diamond grinding to smooth and etch the surface
-
Crack and joint repair with commercial-grade filler
-
Moisture testing to confirm suitability for epoxy coating
Flooring System Chosen:
-
Base layer: High-solids epoxy primer
-
Flake layer: Decorative vinyl flakes in “Smoke” blend (gray, white, and black)
-
Topcoat: UV-resistant polyaspartic for durability and fast curing
The finished floor was slip-resistant, easy to clean, and able to handle Florida’s humid, coastal climate without peeling or discoloration.
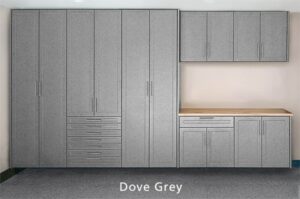
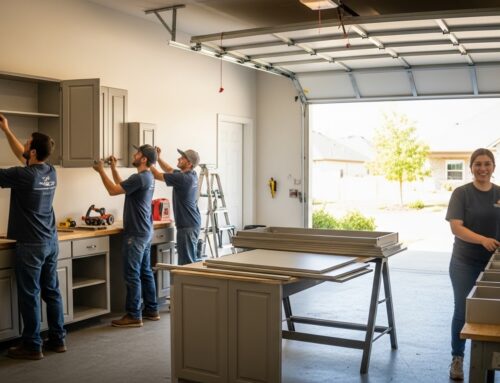
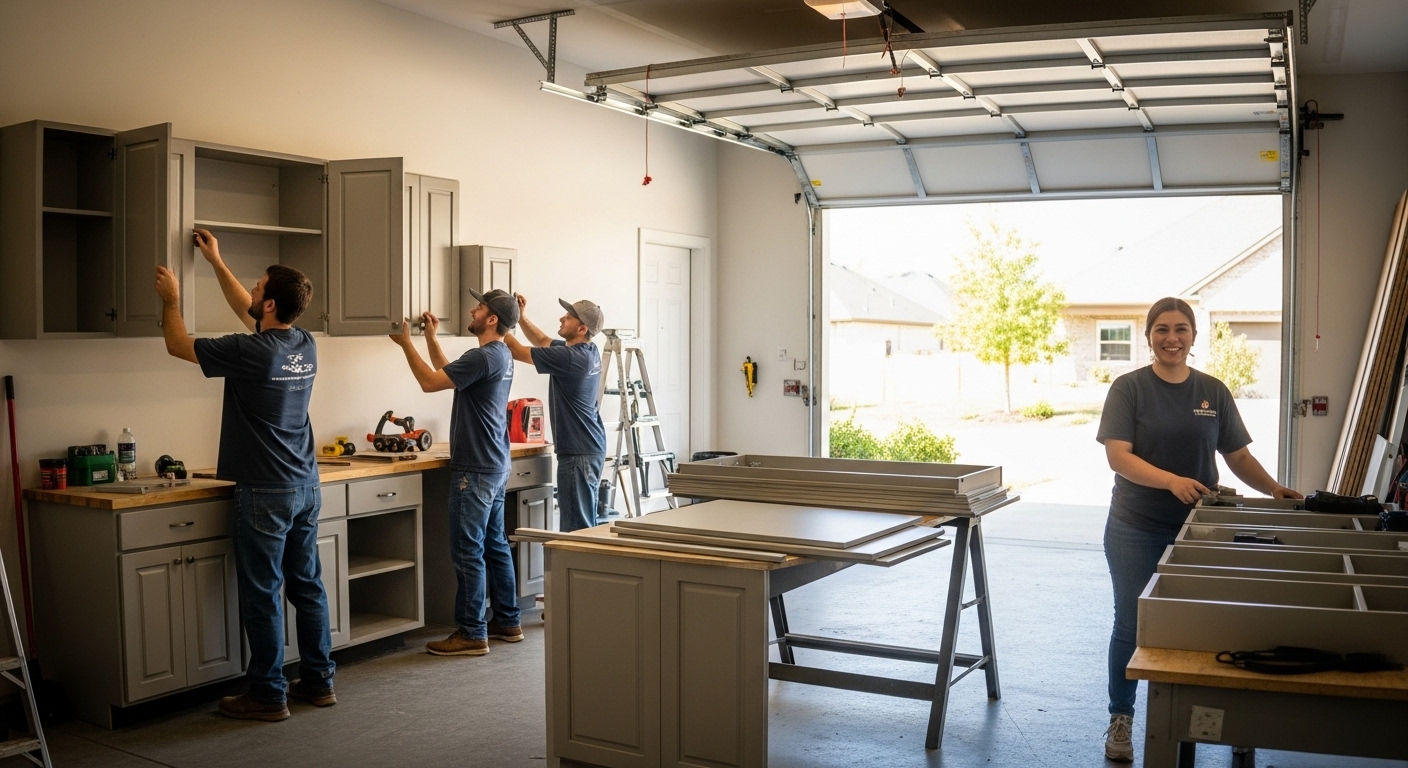
Step 3: Custom Garage Cabinet Installation
To tackle clutter, we installed a custom cabinetry system along the back and side walls. The homeowner selected a matte gray finish with brushed aluminum handles for a modern, clean look.
Features Included:
-
Tall utility cabinets for brooms, garden tools, and sports gear
-
Base cabinets with solid wood worktops for DIY projects
-
Wall-mounted cabinets for extra storage without sacrificing floor space
-
Soft-close drawers and adjustable shelving for flexibility
-
Built-in charging station for cordless tools
All cabinets were moisture-resistant and securely anchored into the wall studs—built to handle heavy loads and Florida humidity.
Step 4: Wall Storage & Work Area
Wall space is often underutilized in garages, so we added slatwall panels along one side of the garage to allow flexible storage for tools, extension cords, helmets, hoses, and more.
We also designed a built-in workstation in one corner where the homeowners could work on crafts, home projects, or simply sit and tinker. It included:
-
Power strip with USB outlets
-
Magnetic tool holders
-
Overhead lighting
-
Pegboard for tools
Step 5: Lighting, Paint, and Finishing Touches
The original garage lighting was a single dim bulb. We replaced it with flush-mounted LED panels that lit the room evenly—perfect for evening use or overcast days.
The ceiling was repainted in bright white, while the garage walls were finished in a moisture-resistant satin gray for contrast and easy cleaning.
Other finishing touches included:
-
Rubber baseboard trim to protect walls from mops or tools
-
Wall-mounted fan to keep air circulating
-
Weather stripping at the garage door base for pest protection
Before & After Highlights
| Feature | Before | After |
|---|---|---|
| Flooring | Cracked concrete, oil stains | Epoxy flake with polyaspartic topcoat |
| Storage | Cardboard boxes and open shelves | Custom cabinetry + overhead storage |
| Lighting | Single ceiling bulb | LED ceiling panels + task lights |
| Walls | Bare drywall | Slatwall system + fresh paint |
| Functionality | Cluttered, underused | Organized, clean, and versatile |
The transformation was not only visual but functional. The couple now enjoys a garage that doubles as a hobby space, home gym corner, and organized storage area.
Why This Remodel Matters
Garage space is often overlooked—but it’s one of the most valuable square footages in your home. This Palm Beach Gardens remodel shows how smart planning, custom upgrades, and durable materials can turn even the most basic garage into a space you’ll actually use and enjoy.
In Florida, where high humidity and salt air can wear out materials quickly, choosing the right systems—from epoxy flooring to moisture-resistant cabinetry—is critical. Every element of this remodel was chosen with local conditions in mind.
Homeowner Feedback
“We never imagined we’d enjoy spending time in our garage, but now it’s one of our favorite parts of the house. Everything has a place, and it looks incredible. The team at The Garage Enhancement Company was fantastic—on time, professional, and helpful every step of the way.”
— Mark & Lisa H., Palm Beach Gardens
Let Us Transform Your Garage
Whether you’re in Palm Beach Gardens, Jupiter, or Port St. Lucie, we offer full garage remodeling services tailored to your needs. From flooring and storage to lighting and layout—we handle it all with care and craftsmanship.
📞 Schedule a free consultation today and let’s create your dream garage!
FAQs
Q1: How long does a full garage remodel take?
Depending on the scope, most full remodels are completed in 7–10 days, including flooring, storage, and finishing.
Q2: What’s the cost of a complete garage remodel?
Pricing varies based on square footage, materials, and complexity. For a 2-car garage, average costs range from $8,000 to $20,000.
Q3: Do you offer financing?
Yes, we have flexible payment plans and financing options to help you upgrade your garage without delay.
Q4: Can I customize the cabinet color and style?
Absolutely. We offer a wide range of colors, finishes, and configurations to match your style and functional needs.
Q5: Will I be able to park in the garage after the remodel?
Yes. All solutions are designed to maximize storage while leaving ample room for vehicles.
Q6: Is there a warranty on the materials and installation?
Yes, all our work is backed by a written warranty, including protection for epoxy coatings, cabinet integrity, and installation quality.
Leave A Comment